Tu esmalte, tu patrimonio
As the day to remove your braces approaches, excitement — and sometimes nervousness — blend in equal measure. For years, you’ve protected your enamel from friction, food debris, and all kinds of chewing forces. Now the challenge is twofold: avoiding any microdamage during debonding and then keeping the surface polished and strong as the tooth adjusts to life “without metal”.
I work hand in hand with Dr. Alejandra Mora, and we both share the same mantra:
“Removing the brackets very carefully is super important … enamel is a tissue that needs a lot, a lot, a lot of care.” – Dr. Alejandra Mora
With that in mind, I’ve condensed the entire protocol into two chronological blocks. This way, you’ll know exactly what to do before and what to do after the big moment. Every recommendation comes from daily clinical practice, my own records, and Dr. Alejandra’s firsthand experience, which you’ll find throughout the text.
1. Protect your enamel BEFORE getting your braces removed
1.1. Visual and tactile self-check at home
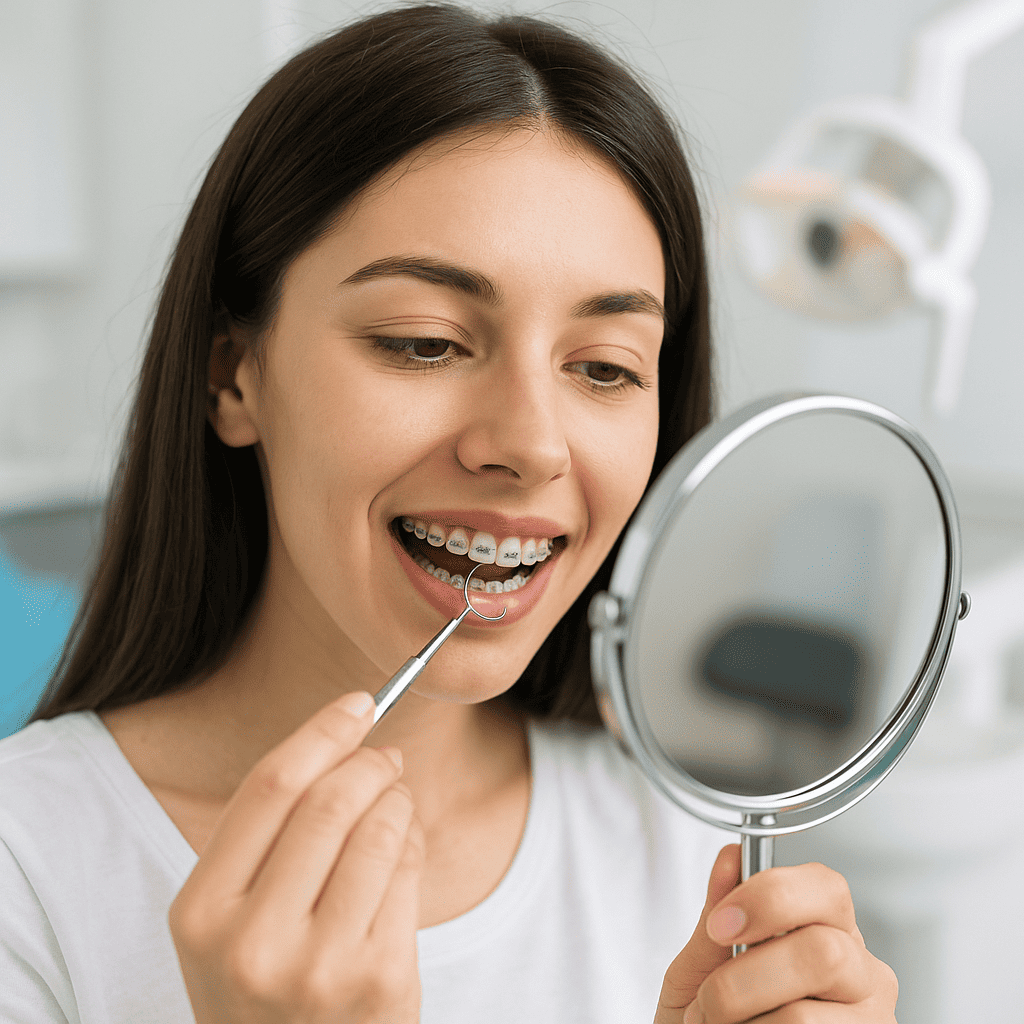
One week before, look at yourself in the mirror with a flashlight (your phone’s works fine). Pay attention to:
- White or matte spots near the edges of the bracket.
- Brown spots that weren’t there at the start of treatment.
- Sensitivity to cold air or fresh water.
If you notice anything, send us photos in good light. That way I can adjust the strategy to make removal even more conservative.
1.2. Thorough cleaning during the last seven days
Brush with a toothpaste containing 1,500 ppm of fluoride and follow up with a 0.05% rinse. The less biofilm remains, the less adhesive resistance the resin will put up when released — and the less torque I’ll need to apply on your enamel.
1.3. Hydration and diet
Drink plenty of water and limit coffee, black tea, and dark sodas. Dehydrated enamel can temporarily appear “whitened,” which makes it harder to see if the surface is perfectly smooth when I remove the resin. Also, hydrated gum tissue bleeds less if we accidentally brush against it.
1.4. Technical talk the day before
I’ll schedule a 10-minute video call with you to go over any questions and show you the instruments I’ll be using — Dr. Alejandra will be on the call too. She usually reminds me in real time:
“Nowadays, there are special pliers to remove brackets, we can even use lasers… and we do it very carefully to avoid damaging the enamel or creating microcracks.”
That way, you’ll arrive at the appointment knowing exactly what you’ll see and hear, reducing any sudden movements that could put pressure on your roots.
1.5. Arrival checklist at the clinic
Once you're seated, we review everything together: 6,500 K LED light, 10× magnification, pliers adapted to your bracket type, and an Er:YAG laser calibrated to 200 mJ / 10 pps. This highly specific ritual ensures that every bit of pressure is minimal and that your enamel stays intact when we hear that satisfying “click” we’ve all been waiting for.
“The clinician should stain the enamel as little as possible because it’s a very important and valuable tissue.” – Dr. Alejandra Mora
Once everything is validated, we begin the debonding process knowing that no variable is out of control.
2. Care AFTER getting your braces removed
2.1. Immediate polishing and sealing
Right after removing the last bracket, I use a multilaminated carbide bur to eliminate 90% of the adhesive.
The remaining 10% is polished with the “special Arkansas stones” that Dr. Alejandra always highlights:
“There are special stones designed to remove the resin that stays stuck to the teeth.”
Once the surface is smooth, I apply a 5% fluoride varnish for 4 minutes, followed by a tricalcium phosphate gel in a tray for 10 minutes. This seals the exposed microtubules and restores lost minerals.
2.2. First 48 hours at home
- Use a ultra-soft toothbrush (≤ 55 RDA).
- Avoid citrus juices, carbonated sodas, and acidic sauces.
- If you feel sensitivity, apply a drop of your 8% arginine gel to the area and wait 2 minutes before rinsing.
- Sip water in small amounts to keep your saliva flowing — it’s your best natural remineralizer.
2.3. Hygiene routine during the first week
Morning and night: electric toothbrush for 120 seconds + expandable dental floss. Finish with a 0.12% stannous fluoride rinse — it helps prevent early cavities and strengthens the crystalline matrix of the enamel.
2.4. Retainer and maintenance
Before you leave the clinic, I place a 3-3 coaxial wire on the lingual side and give you your clear night retainer. Clean it with neutral soap and warm water; use effervescent tablets only once a week to avoid degrading the acetate.
2.5. Revisiones programadas
- Día 7: confirmo que el esmalte brilla homogéneo y que no quedó resina residual.
- Month 1: I assess sensitivity, polishing, and retainer fit.
- Month 3: if everything remains stable, we can plan a whitening treatment with 35% peroxide (optional) — only once remineralization is fully consolidated.
2.6. Debunking common myths
- “Laser burns the surface”: false; I use microsecond pulses that keep the pulp stable.
- “There will be permanent scratches”: nope — I polish with Arkansas stone until the reflection line is seamless.
- “Sensitivity lasts forever”: it usually settles within 24–72 hours with your remineralizing gel.
Here’s a quick chart where you can easily see the key takeaways from sections 1 and 2 of this article.
| Timing | Quick Checklist |
|---|---|
| 1️⃣ BEFORE | 🔎 Inspecciona: linterna + espejo🪥 Limpia: pasta 1500 ppm + enjuague 0.05 %💧 Hidrata: agua, evita ácidos📱 Confirma: videollamada para ver instrumental🛠️ Checklist clínica: luz LED, lupa, pinzas, láser |
| 2️⃣ AFTER | 🪨 Pulido: fresa + piedra Arkansas✨ Protege: barniz de flúor + gel de calcio🪥 Higiene: cepillo ultrasuave + enjuague de estaño😁 Retención: alambre lingual + férula nocturna📆 Revisiones: día 7 · mes 1 · mes 3 |
Conclusions
From the moment you decide to remove your braces, your enamel becomes the absolute star. With the right prep — hydration, deep cleaning, and knowing the step-by-step — you’ll sit in the chair with zero surprises. Then, thanks to the combo of debonding pliers, laser, and ultra-precise polishing that Dr. Alejandra and I practice, the removal becomes a surgical-level procedure where her phrase truly comes to life:
“It’s super important that the clinician is very careful to... stain the enamel as little as possible.”
Follow the immediate care guidelines, stick to your checkups, and you’ll see how your enamel — polished, shiny, and strong — looks just as spectacular as the alignment you worked so hard to achieve. Because a perfect smile isn’t just straight: it also radiates health from the very first layer that protects it.
If you’re thinking about straightening your smile discreetly, book an appointment and let’s clear up your questions face-to-face. At AM Dental Studio, Zapopan, we review your case, talk honestly about costs, timelines, and care, and map out a realistic plan for your lifestyle.

Best Choice
📍 Zapopan, Guadalajara


